Table of Contents
- What Is an Induction Cooktop and How Does It Work?
- Can You Install an Induction Cooktop Yourself?
- Components, Tools, and Conditions for How to Install an Induction Cooktop
- Preparing Your Kitchen for an Induction Cooktop Installation
- Safely Disconnecting Power Before Installation
- Removing an Existing Induction Cooktop
- Installing a New Induction Cooktop
- Contact Us
- FAQs
What Is an Induction Cooktop and How Does It Work?
Induction Cooktops are becoming increasingly more popular in modern kitchens. They’re not only great for homeowners who don’t want a free-standing range, but they’re also becoming more of a go-to for those looking for an electric alternative to a traditional gas cooktop. But not everyone knows how to install an induction cooktop.
It certainly can’t be as easy as cutting a hole in your countertop? We called up our friends over at Appliance Educator, who are highly knowledgeable appliance experts, to get all the details, and we’re surprised to find out it can be as easy as that!
Can You Install an Induction Cooktop Yourself?
Yes, you can install an induction cooktop by yourself! Induction cooktops are actually a pretty easy installation from start to finish! Thanks to induction cooktops, just using electricity, your biggest step involves hooking up your wiring, but let’s not jump ahead just yet!
First, review the components, tools, and considerations for how to install an induction cooktop.
Components, Tools, and Conditions for How to Install an Induction Cooktop
- Induction cooktop compatible with your countertop cutout
- Manufacturer-provided installation manual and cutout dimensions
Proper countertop opening sized to the cooktop specifications
Cabinet clearance that meets minimum ventilation requirements
Dedicated electrical circuit sized to the cooktop’s voltage and amperage requirements
Junction box installed beneath or near the cooktop location
Correct wiring configuration, including ground, neutral, and live wires
Wire nuts or wire caps for secure electrical connections
Screwdriver and basic hand tools
Mounting brackets or clipsare included with the cooktop
Power shut off at the breaker before installation
Optional professional electrician for new installs or electrical upgrades
Optional professional installer if modifying cabinetry or countertops
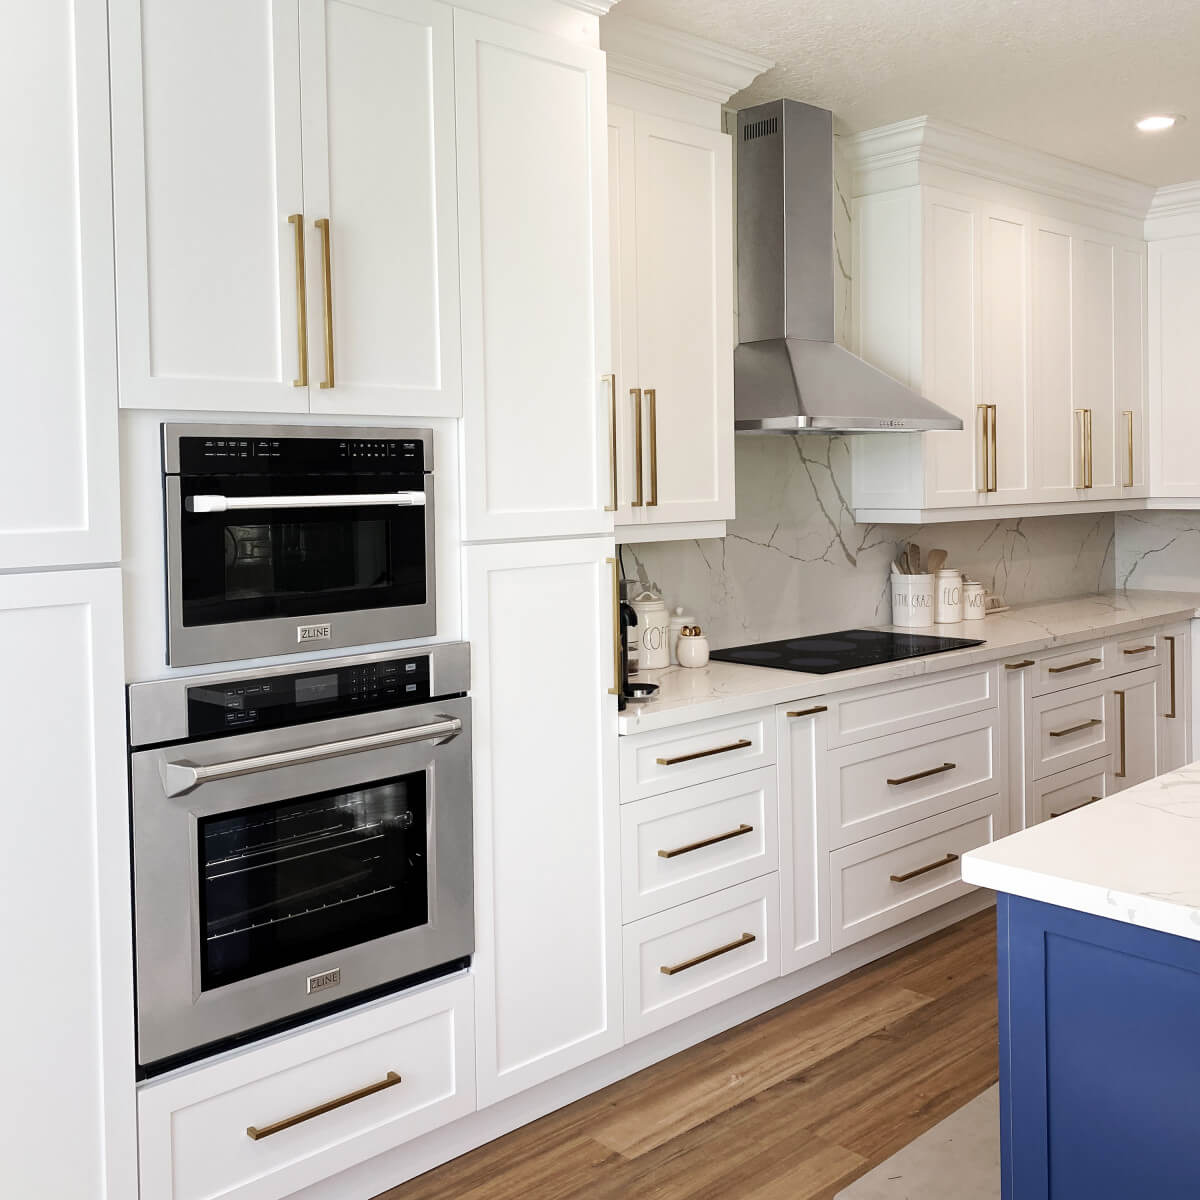
Preparing Your Kitchen for an Induction Cooktop Installation
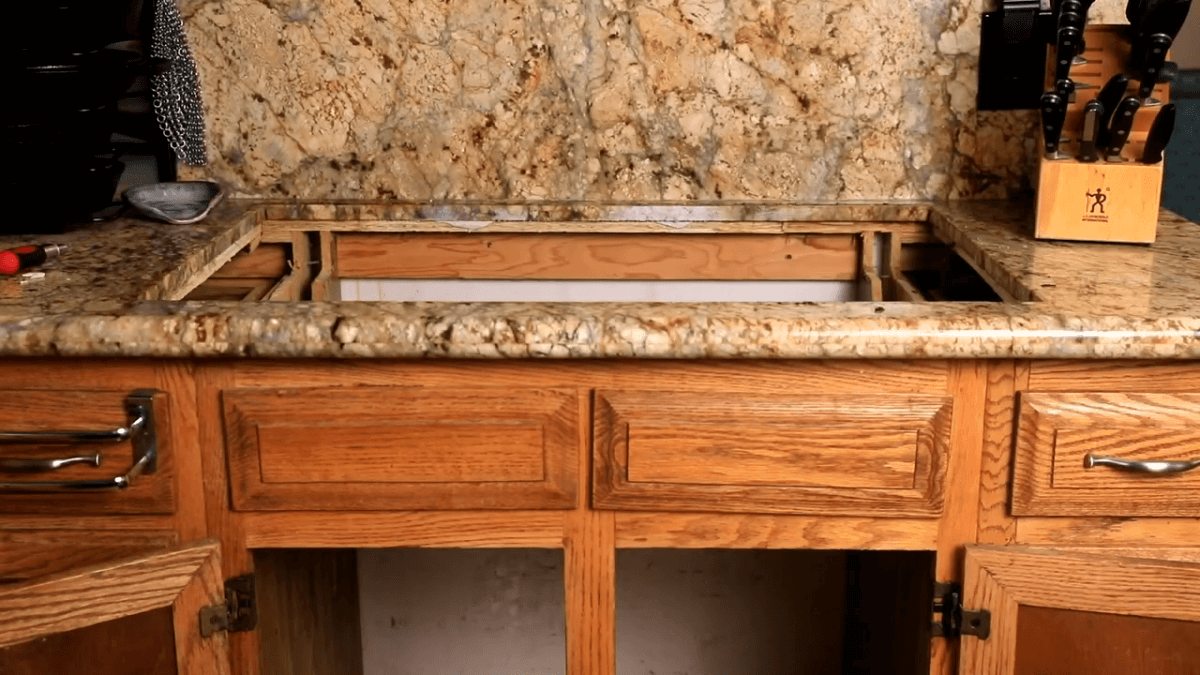
If you’re doing a fresh install, you’ll need to cut out a spot in your cabinets for your induction. In most cases, the manufacture of your appliance will include cut-out dimensions to help ensure a smooth and accurate installation. It’s important to get this step correct! It can be a very expensive thing to fix.
Induction Cooktop Cutout Dimensions and Cabinet Requirements
If you’re unsure, we always recommend hiring a professional. Also, if this is a fresh install, we advise calling an electrician to make sure you have a junction box (similar to a wall outlet, but with direct lines to your appliance instead of plugs) installed that can be properly used on your induction.
Electrical Requirements for Induction Cooktops
A junction box is similar to a wall outlet, but instead of plugs, it uses direct wiring to supply power to your appliance. This step is critical for safe and code-compliant installation.
Safely Disconnecting Power Before Installation
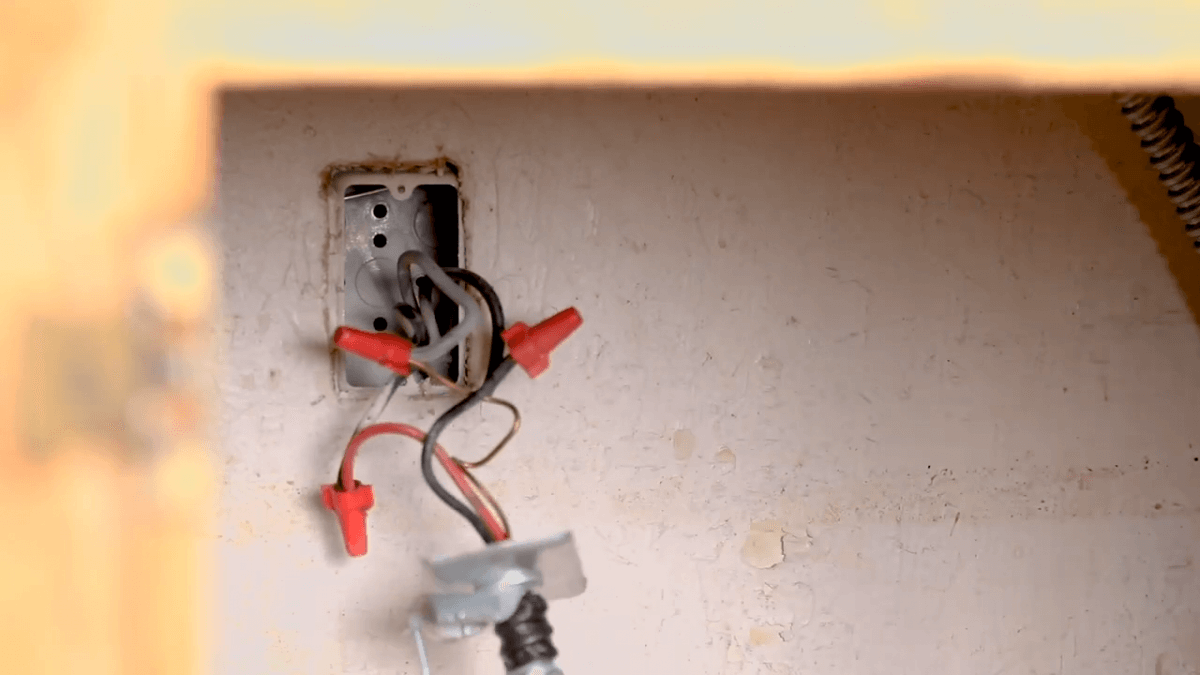
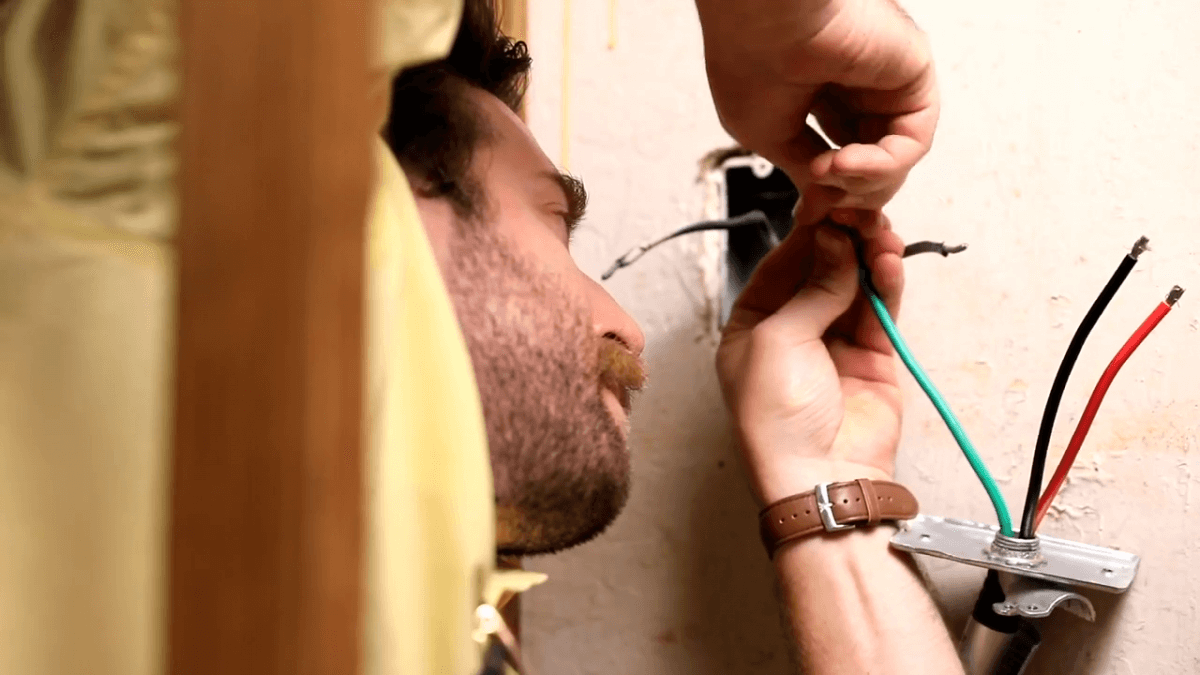
If you already own an induction cooktop and are upgrading to a newer model, your first step should be to turn off the power to your kitchen and locate the junction for your existing induction cooktop.
Remove the faceplate from the junction box. You should see three separate wires connecting your junction box to your current induction. Take a picture of how the wires are set up, as it will help you out when you’re hooking up the wires to your new induction.
Removing an Existing Induction Cooktop
Remove the wire cap connecting the wires from your old induction to the house wiring. Set aside your wall cap, you’ll need this later!
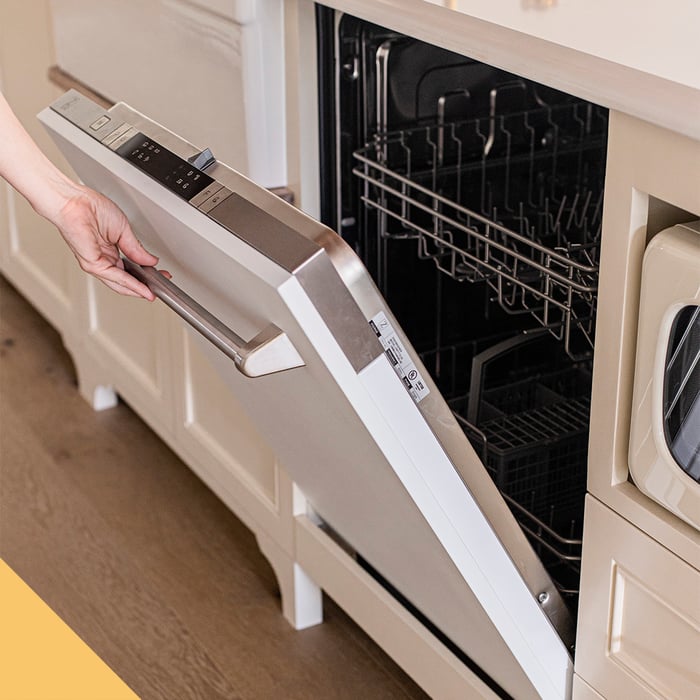
Now that we’ve removed the power from the existing induction cooktop, detach any clips holding your cooktop to your counter. Once you’ve confirmed that all clips are detached, lift up the cooktop evenly from the underside.
Installing a New Induction Cooktop
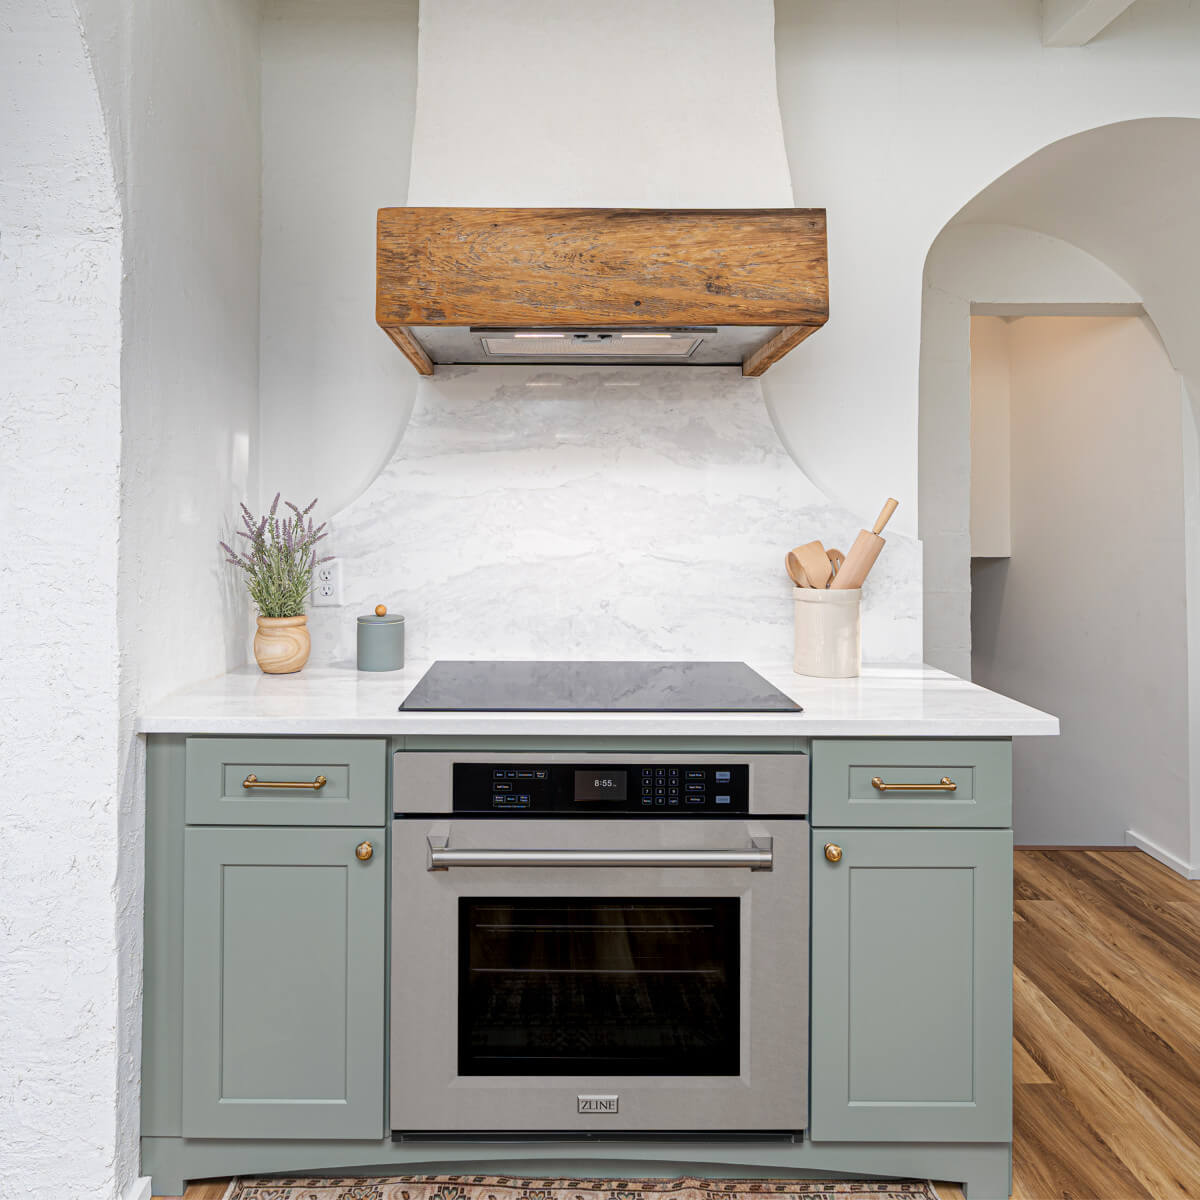
Now it’s time to install your new induction cooktop. Most induction cooktops will have a pretty similar installation process. We’ll be basing our installation on an induction cooktop from ZLINE Kitchen and Bath.
ZLINE 36 in. Induction Cooktop with 5 Burners (RCIND-36)

$1,199.95
Innovation meets luxury: ZLINE’s RCIND Induction Cooktop Series blends consistent precision and speed with its innovative technology and sleek, SCHOTT CERAN® glass surface imported from Germany. Achieve incredibly fast heat and a quick boil with induction technology that heats 50%… Read More
The technology in the ZLINE Induction Cooktops is next-level. There are no external knobs or buttons on this cooktop. That means that you don’t have to worry about wear and tear and needing to replace them in the future.
No knobs or grates also make this cooktop extremely easy to keep clean! Everything is controlled through an LCD that is directly on the glass. Speaking of glass, the glass in this induction is made in Germany with high-quality materials, so you know it’s going to last a long time!
One of our favorite perks of this induction is the power option. This lets your induction cook at its absolute max, perfect for when you’re in a pinch and need dinner cooked as soon as possible!
Wiring an Induction Cooktop to a Junction Box
We suggest completing your wiring before you install the induction into the cabinet. Take the wiring from your new induction down to the junction box. Remember that photo we had you snap earlier? Now is the time to pull that up!
Oftentimes, the wiring in your junction box can be confusing to label, so it’s important to know which wire is your ground, your neutral, and your live. Having a photo on hand can be incredibly helpful when trying to figure this out. The last thing you want to do is have to go back later and correct this!
Installing and Securing the New Induction Cooktop
With the wiring finished, reinstall the cover to your junction box. Carefully take your new induction cooktop and place it inside the cutout. With the cooktop inside the cutout, install any brackets that came with it.
Just like that, your new induction cooktop is installed and ready to go! Big thanks to Appliance Educator for walking us through the steps needed to install. If you aren’t already, be sure to give them a follow on YouTube, and don’t forget to check out their website! They’ve got great how-tos, before you buy guides, and recommendations for every aspect of your home! Explore Induction Cooktops If you have any questions about how to install an induction cooktop or need help finding the perfect induction cooktop for your home, please feel free to contact us! Our knowledgeable team is always ready to help.
Contact Us
FAQs
What is an induction cooktop and how does it work?
An induction cooktop uses electromagnetic energy to heat cookware directly rather than heating the cooktop surface itself. When compatible cookware is placed on the surface, the magnetic field activates and generates heat in the pan, allowing for faster cooking, precise temperature control, and improved energy efficiency compared to traditional electric or gas cooktops.
Can I install an induction cooktop myself?
Yes, many homeowners can install an induction cooktop themselves, especially when replacing an existing electric or induction unit. The physical installation is straightforward, but the electrical connection must be done carefully and safely. If new wiring, a junction box, or circuit upgrades are required, hiring a licensed electrician is strongly recommended.
What electrical requirements does an induction cooktop need?
Induction cooktops require a dedicated electrical circuit that matches the voltage and amperage specified by the manufacturer. Most models connect directly to a junction box rather than a standard outlet. Proper grounding and correct wire connections are critical for safe and code-compliant operation.
Do I need a junction box to install an induction cooktop?
Yes, induction cooktops are typically hardwired into a junction box rather than plugged into an outlet. If your kitchen does not already have a junction box in the correct location, one will need to be installed before the cooktop can be connected.
What tools and materials are needed for installation?
Basic hand tools such as a screwdriver, wire caps, and mounting brackets are usually required. You’ll also need access to the breaker panel to shut off power during installation. Always follow the manufacturer’s installation manual for exact requirements.
How do I prepare my countertop and cabinets for installation?
Your countertop must be cut to the exact dimensions provided by the manufacturer. Cabinet clearances and ventilation space beneath the cooktop must also meet minimum requirements. Incorrect cutout sizing is one of the most common installation mistakes and can be costly to fix.
Is it safe to remove an old induction cooktop on my own?
Yes, as long as power is fully shut off at the breaker before beginning. Once power is disconnected, the wiring can be safely removed, and the cooktop unclipped from the countertop. Taking a photo of the original wiring setup is highly recommended to simplify reconnecting the new unit.
Should wiring be completed before placing the cooktop into the countertop?
Yes, wiring the cooktop to the junction box is typically easier before the unit is fully seated in the cutout. This allows for better visibility and access to the wires, reducing the risk of incorrect connections.
Do induction cooktops require special cookware?
Yes, induction cooktops require magnetic cookware such as cast iron or magnetic stainless steel. Non-magnetic materials like aluminum, copper, or glass will not work unless they have a magnetic base.
When should I hire a professional instead of doing it myself?
You should hire a professional electrician if your installation requires new wiring, circuit upgrades, or a new junction box. A professional installer is also recommended if cabinetry or countertop modifications are needed to ensure proper fit and ventilation.
How do I know if my induction cooktop is installed correctly?
Once installed, the cooktop should sit flush in the countertop, power on without error codes, and respond correctly to controls. If the unit does not power on, trips the breaker, or displays electrical faults, power should be turned off immediately and the wiring rechecked or inspected by a professional.