Table of Contents
Stainless steel is durable, corrosion-resistant, and has a timeless appeal that makes it look great in any kitchen. These advantages have made stainless steel one of the most popular finishes on appliances and kitchen fixtures, but keeping it clean and shiny can be a bit of a challenge. Luckily, we'll teach you how to clean stainless steel appliances with the proper tools and guidance.
In this comprehensive guide, we'll walk you through the steps on how to clean stainless steel appliances. Whether you have a stainless steel refrigerator, oven, dishwasher, sink, faucet, countertop, or other kitchen gadgets, our tips and tricks will help you achieve a sparkling shine every time.
ZLINE Stainless Steel Cleaner and Polish (STCLT-8)

$19.95
Luxury isn’t meant to be desired - it’s meant to be attainable. ZLINE Stainless Steel Cleaner and Polish (STCLT-8) helps you preserve a pristine shine and high-quality finish by easily eliminating fingerprints, dissolving grease, and removing streaks, smudges, and even… Read More
Expert Quick Tips
Avoid using abrasive cleaners or scrubbers to clean stainless steel.
Do not use harsh chemicals, such as bleach or ammonia, to clean stainless steel.
Wipe the appliance regularly with a damp, lint-free cloth (can use a microfiber cloth or soft cotton cloth) to prevent dirt and grime from building up.
Buff the appliance with a soft cloth every few weeks to keep it looking its best.
If you are cleaning appliances that come into contact with food, it is important to use a food-grade and non-toxic solution to avoid contaminating food.
How to Clean Stainless Steel
Cleaning stainless steel may seem daunting, but it’s actually very straightforward and easy as long as you’re equipped with the right knowledge beforehand. In our experience here at The Range Hood Store, we’ve found stainless steel's ease of cleaning is a major advantage for busy homeowners.
We’ve broken this guide down into a 4-step process:
Pre-Cleaning
General Cleaning
Tackling Tough Stains
Maintenance
1. Pre-Cleaning
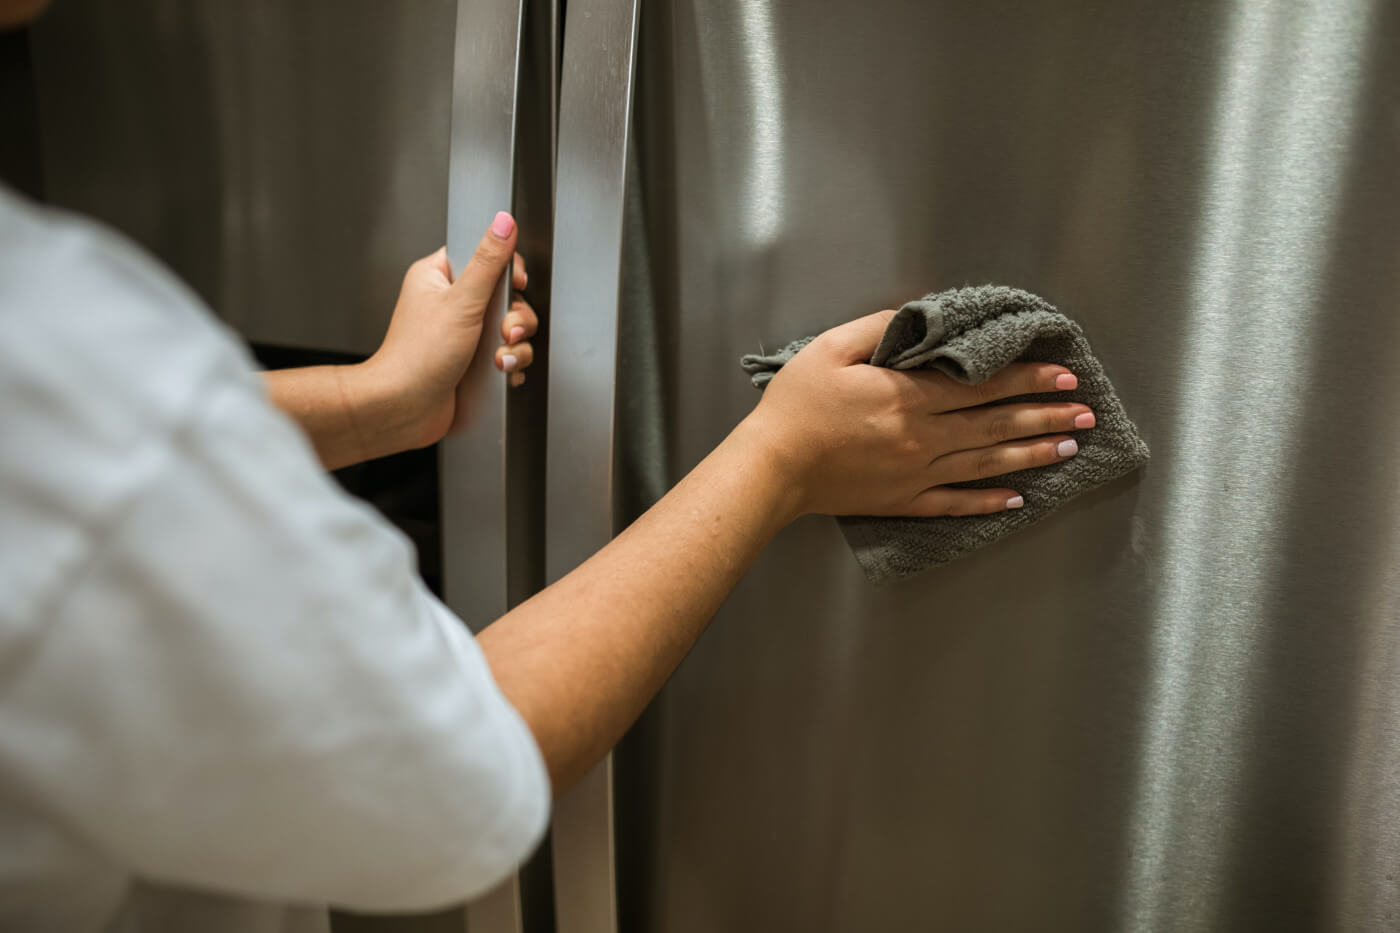
Before you begin to clean stainless steel, you should prepare the surface by removing any loose debris. This step helps ensure that your cleaning efforts are focused on the stains and smudges rather than spreading around particles that may scratch the surface. You’ll need two tools for this step: a soft brush and a damp cloth.
Soft Brush: This could be a clean, dry paintbrush or a specialized brush designed for electronics or appliances. The bristles should be gentle and soft enough not to scratch the stainless steel. A general rule we recommend following: If it’s not gentle enough to touch, it’s not gentle enough to avoid scratching stainless steel.
Damp Cloth: Additionally, prepare a damp, lint-free cloth. You can use a microfiber cloth or a soft cotton cloth for this purpose.
Start by inspecting the surface of your stainless steel appliance. Look for any visible food particles, dust, or fingerprints.
Gently sweep or brush away loose debris using the soft brush. Make sure to brush in the direction of the grain (if your stainless steel has a visible grain pattern) to prevent potential scratches.
For stubborn debris or dried-on spills, dampen the cloth slightly (but not dripping wet) and wipe the affected area. Again, wipe in the direction of the grain.
Pay special attention to crevices, handles, and corners where dirt and grime can accumulate.
2. General Cleaning
Mix a solution of warm water and a few drops of mild dish soap in a spray bottle. This gentle yet effective solution will help remove grease, grime, and smudges without damaging the stainless steel finish.
Spray the soapy solution evenly over the surface of your stainless steel appliance. Ensure thorough coverage while avoiding oversaturation.
Allow the soapy solution to sit for a moment. This will help break down and loosen any stubborn stains or residue.
Using a soft, lint-free cloth, such as a microfiber cloth or a soft cotton cloth, gently wipe the surface of the appliance in the direction of the grain. This step is crucial to maintaining the stainless steel's polished appearance and minimize the risk of visible streaks or scratches.
As you wipe, pay extra attention to areas with visible stains or smudges, applying a bit more pressure if needed.
After wiping down the appliance, rinse it thoroughly with clean water. This step removes any residual soap and ensures a spotless finish.
Make sure to wipe in the direction of the grain while rinsing to maintain the stainless steel's polished appearance.
Finally, use a clean, dry cloth to dry the appliance completely. This step not only removes any remaining water droplets but also helps achieve a gleaming shine.
3. Tackling Tough Stains
While general cleaning can tackle most smudges and everyday marks on stainless steel appliances, tougher stains may require a bit more effort.
For older or particularly stubborn stains, you may need to repeat the cleaning process several times to achieve the desired results. Patience is key when dealing with tough stains. Avoid the temptation to scrub vigorously, as this can potentially damage the stainless steel surface.
Here are some methods we’ve found effective when dealing with tough and stubborn stainless steel stains:
Baking Soda and Water:
Baking soda is a versatile and safe abrasive that can help tackle tough stains. To use this method:
Create a paste by mixing baking soda and water. The consistency should be thick enough to adhere to the stain.
Apply the baking soda paste to the stain, ensuring full coverage.
Let it sit for 15-30 minutes to allow the paste to break down the stain.
Afterward, wipe the paste away with a damp cloth. Make sure to wipe in the direction of the grain for the best results.
Vinegar Solution:
Vinegar is a natural disinfectant and can be effective at removing tough stains on stainless steel. Here's how to use it:
Mix equal parts of vinegar and water in a spray bottle to create a mild cleaning solution.
Spray the solution directly onto the stain.
Allow it to sit for a few minutes to help dissolve the stain.
Afterward, wipe the stain away with a damp cloth, again following the grain pattern.
4. Maintenance
Regularly performing simple maintenance will drastically reduce the amount of tough stainless steel stains and smudges you have to deal with. Here are our maintenance recommendations to keep your stainless steel appliances looking their best.
Regularly Wipe Down Your Appliances: Prevent dirt, grime, and fingerprints from building up by wiping down your appliances regularly. A simple solution of warm water and a few drops of mild dish soap can be used with a soft cloth.
Regular Buffing: Periodically, give your stainless steel appliances a gentle buff to keep them looking their best. The buffing process enhances the shine and helps to remove minor surface imperfections.
Keep Appliances Dry: After cleaning your appliances, it's essential to dry them thoroughly with a soft cloth. Water spots can form on stainless steel if left to air dry, potentially dulling the finish.
Proper Storage: When you're not using your appliances, store them in a clean, dry place. This simple step helps prevent accidental scratches or damage when appliances are not in use.
Best Home Remedy Stainless Steel Cleaner
Here is a simple recipe for a homemade stainless steel cleaner:
Ingredients:
1 part white vinegar
1 part water
A few drops of lemon juice (optional)
Instructions:
Mix the vinegar and water together in a spray bottle.
Add a few drops of lemon juice, if desired. The lemon juice helps hide the vinegar scent.
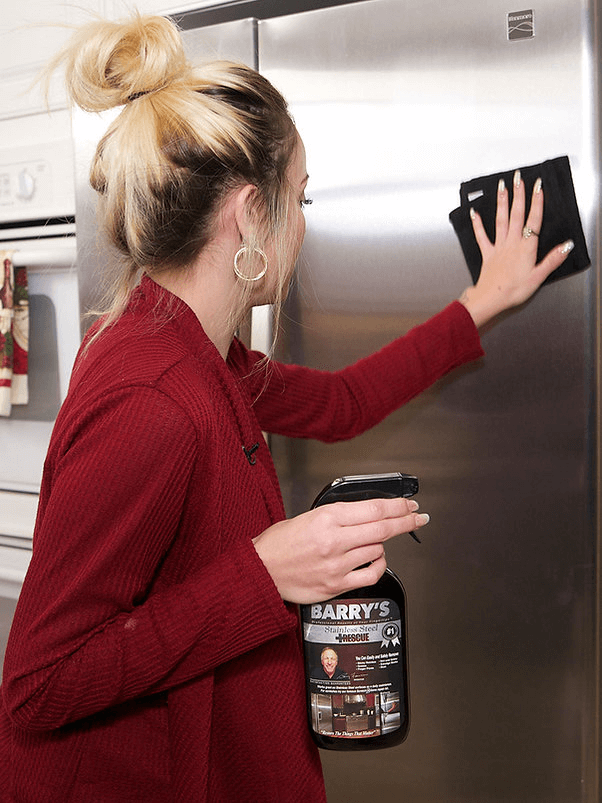
Spray the solution on the stainless steel appliance and wipe it clean with a soft cloth.
This homemade cleaner is safe for use on all stainless steel appliances, and it will help to remove dirt, grime, and fingerprints.
How to Clean Black Stainless Steel Appliances
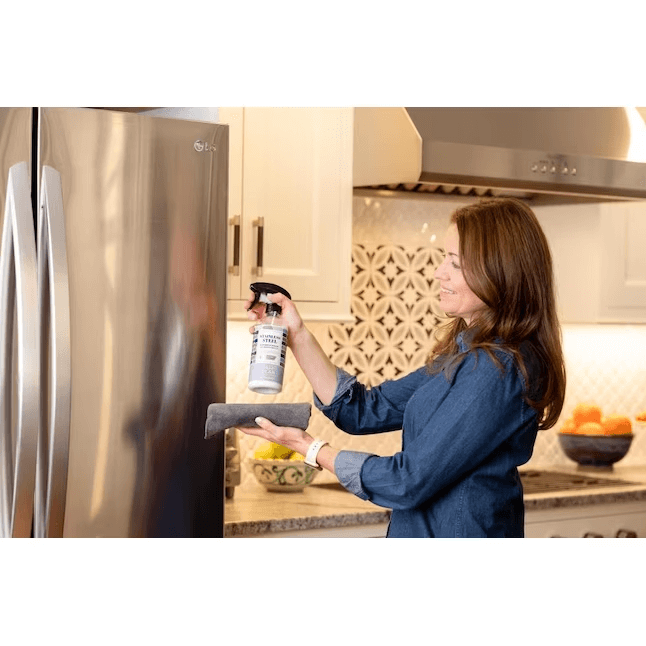
If you have black stainless steel appliances, you may be wondering if there are special precautions you need to take while cleaning them. The simple answer is yes; black stainless steel has an added PVD finish that can be damaged if improperly cleaned. For this reason, we recommend only warm water, mild dish soap, and a microfiber cloth for deep cleaning black stainless steel. Additionally, ZLINE Stainless Steel Cleaner and Polish is safe to use.
With this in mind, follow the steps outlined in section 2, General Cleaning, of this guide to clean black stainless steel.
ZLINE Stainless Steel Cleaner and Polish (STCLT-8)

$19.95
Luxury isn’t meant to be desired - it’s meant to be attainable. ZLINE Stainless Steel Cleaner and Polish (STCLT-8) helps you preserve a pristine shine and high-quality finish by easily eliminating fingerprints, dissolving grease, and removing streaks, smudges, and even… Read More
Conclusion
The easiest way to keep your stainless steel appliances and fixtures clean is regular maintenance. Simple, everyday maintenance helps prevent the buildup of dirt, grime, and unsightly fingerprints in the first place.
But if the time comes for a thorough cleaning, by following our expert tips and the steps outlined in this guide, you have the know-how to safely clean stainless steel and keep your kitchen looking great.
Thank you for choosing this guide as your trusted resource for stainless steel care. We hope it brings you the joy of a spotless, gleaming kitchen.
If you have any further questions about stainless steel appliances or fixtures, call us at 1 (866) 528-0571 or book a consultation with one of our many knowledgeable representatives here!
Make sure to follow us on all of our social media pages to be the first to hear about new deals and product launches!
Facebook: The Range Hood Store
Instagram: @therangehoodstore
YouTube: The Range Hood Store
Pinterest: @TheRangeHoodStore
FAQs
Why is stainless steel so popular for kitchen appliances?
Stainless steel is durable, corrosion-resistant, and timeless in appearance. It complements nearly any kitchen style and holds up well to daily use, which is why it is widely used for refrigerators, ranges, dishwashers, sinks, and fixtures.
What should I avoid when cleaning stainless steel appliances?
Avoid abrasive scrubbers, steel wool, and harsh chemicals such as bleach or ammonia. These can scratch the surface, dull the finish, or permanently damage the protective layer of stainless steel.
What is the safest way to clean stainless steel daily?
For everyday cleaning, warm water, a small amount of mild dish soap, and a soft microfiber or lint-free cloth are sufficient. Regular wipe-downs prevent fingerprints, grease, and grime from building up.
Why should I clean stainless steel in the direction of the grain?
Cleaning with the grain helps prevent streaking and reduces the risk of visible scratches. Most stainless steel surfaces have a subtle grain pattern that becomes more apparent when cleaned correctly.
How do I remove fingerprints from stainless steel appliances?
Fingerprints can usually be removed with a damp microfiber cloth followed by drying with a clean cloth. Light buffing helps restore shine and minimize smudging.
What is the best way to remove tough stains on stainless steel?
For stubborn stains, a baking soda and water paste or a diluted vinegar solution can be effective. Apply gently, allow it to sit briefly, and wipe away following the grain. Avoid aggressive scrubbing.
Are commercial stainless steel cleaners safe to use?
Yes, cleaners specifically designed for stainless steel can be effective for removing grease and restoring shine. Always follow the manufacturer’s instructions and test on a small area first.
How often should stainless steel appliances be deep cleaned?
Deep cleaning is typically only needed every few weeks or when buildup becomes noticeable. Consistent light maintenance reduces the need for intensive cleaning.
How do I prevent water spots on stainless steel?
Always dry stainless steel appliances immediately after cleaning. Allowing water to air dry can leave mineral spots that dull the finish over time.
Can I use homemade cleaners on stainless steel?
Yes. A simple mixture of equal parts white vinegar and water works well for general cleaning. Adding a few drops of lemon juice can help neutralize odors while maintaining a fresh finish.
Is black stainless steel cleaned the same way as standard stainless steel?
No. Black stainless steel usually has a special PVD coating that requires gentler care. Use only warm water, mild dish soap, and a microfiber cloth or specialized cleaners.
Do stainless steel appliances require special maintenance long term?
Stainless steel appliances benefit from regular wiping, occasional buffing, and proper drying. With consistent care, they retain their appearance and resist corrosion for many years.
Is stainless steel easy to maintain compared to other finishes?
Yes. While fingerprints may be more visible, stainless steel is generally easier to maintain than painted or coated finishes and is less prone to chipping or fading.
Who can help if I have questions about cleaning or maintaining appliances?
If you need appliance care guidance, consulting kitchen specialists such as those at The Range Hood Store can help ensure you are using safe and effective cleaning methods.
What is the biggest mistake people make when cleaning stainless steel?
The most common mistake is using abrasive tools or harsh chemicals. Gentle, consistent cleaning is far more effective and protects the appliance’s finish long term.


