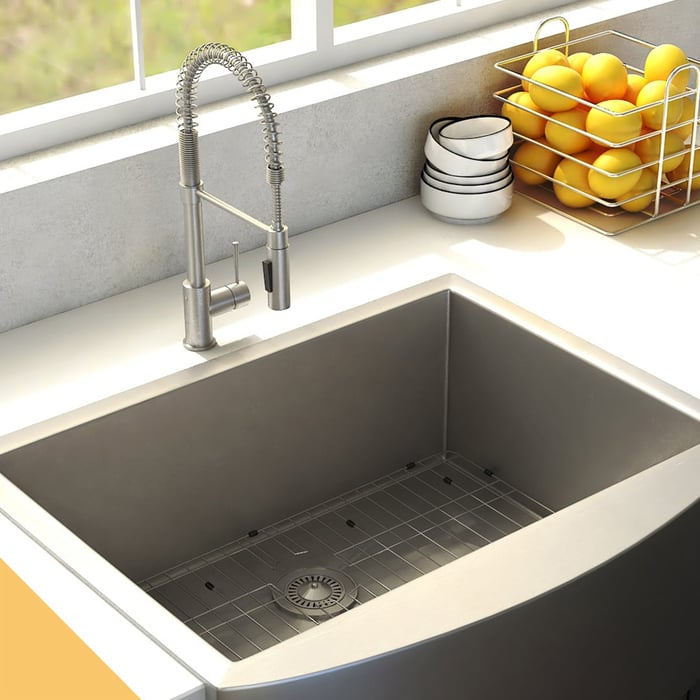
Table of Contents
Changing your kitchen sink can be a daunting process, especially if you’ve never done it before. While you can always have a professional install it for you, the choice to replace your kitchen sink yourself can be a cheaper route for those looking to save some cash.
There are multiple reasons why you might need to replace your kitchen sink, the most common being that your current sink is damaged, or you’re in the middle of a kitchen remodel. Sometimes you’re not even replacing your current kitchen sink, but instead installing one for the first time.
No matter what your reasoning is behind it. You want to make sure you replace it correctly. If you remove the old sink incorrectly or have trouble getting the new one installed, it can damage your counters, your sinks, and even your plumbing. But have no fear, we’re here to help you along the way.
Removing Your Old Sink

The first thing you’ll want to do is clear under the sink and remove all clutter. Once you’ve got that cleared out, turn off your hot and cold water valves and turn on the faucet to remove any water currently in the lines.
After you’ve confirmed your water is turned off, it’s time to start detaching things. First, start by removing the kitchen faucet hoses from your hot and cold water lines. Most modern kitchens have a garbage disposal. If your home does the next thing, you’ll want to unplug the disposal from power.
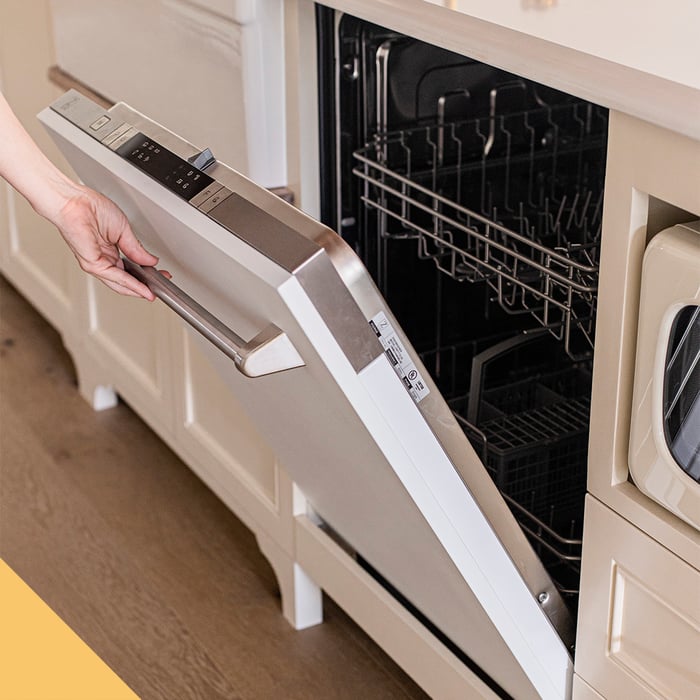
After, unplug the hose from the dishwasher (if connected to your disposal). Detach the disposal from the drain, and then loosen the drain collar from the sink.
At this point, your sink shouldn’t be attached to any pipes, and you can remove it from the cabinet. Depending on how long it’s been in place and the sealant they used, this might take a bit of force, but it should come up.
After you’ve turned off the water lines, you’ll want to loosen the drain collar of the sink and the water drain. Remove old caulking, depending on the mount.
ZLINE Autograph Edition Apollo Pull Down Spring Single Handle Kitchen Faucet in Matte Black and Champagne Bronze (APL-KF-ZMBCB)

$332.96
$369.95
Luxury isn’t meant to be left desired—it’s meant to be attainable. The ZLINE Autograph Edition Apollo Pull Down Spring Single Handle Kitchen Faucet in Matte Black and Champagne Bronze (APL-KF-ZMBCB) combines refined European craftsmanship with an innovative spring-loaded spray wand… Read More
If you’re keeping your faucet, now is the perfect time to detach it from your old sink and install it on the new one. But why keep that old faucet when you could upgrade to a premium new faucet like the ZLINE Apollo Kitchen Faucet to match your new sink?
Picking the best replacement
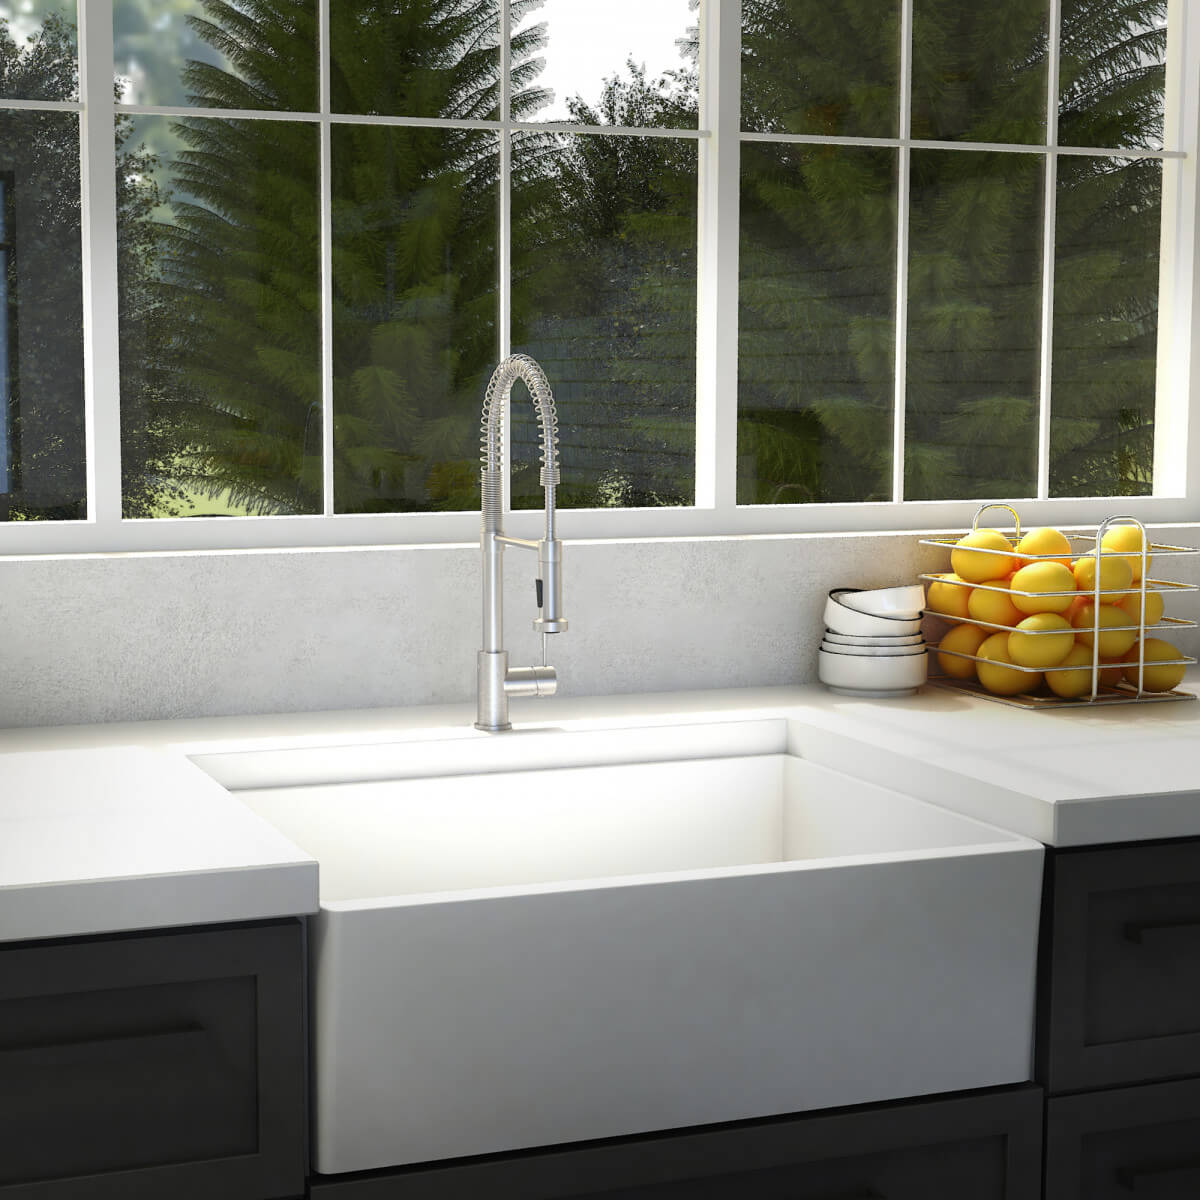
Now it’s time to install your new kitchen sink. If you're prepping ahead and still looking to purchase one, there are many things to consider when getting your new sink. Most importantly, what type of sink, and what type of mount?
Two of the most popular types of sinks are fireclay and stainless steel.
Fireclay is more common in homes looking for a farmhouse style, and can, in some instances, be more sound-absorbing. While stainless steel usually has more style options, it can also be easier to clean. For a more in-depth comparison, check out our blog where we compare the two.
ZLINE 33 in. Moritz Farmhouse Apron Mount Single Bowl Kitchen Sink with Bottom Grid and Accessories with Color Options (SLSAP-33)

$662.99
$779.99
Luxury isn’t meant to be left desired—it’s meant to be attainable. The ZLINE 33 in. Moritz Farmhouse Apron Mount Single Bowl Kitchen Sink with Bottom Grid and Accessories with Color Options (SLSAP-33) provides a superior cleaning experience by pairing unmatched… Read More
Beyond the style and finish of the sink, you’ll also want to keep the mounting type in consideration. Your safest bet is to get a sink that is the same mounting type as your previous one. This will usually take the least amount of work and save you from having to do any extra cutting or fitting with pipes.
But if you have your heart set on something different, for example, you want to switch from an under-mount to a ZLINE 30" Rome Dual Mount Single Bowl Fireclay Sink. You should be okay. Just make sure the new sink will fit inside your cabinet. If you’re unsure, reach out to a professional for help.
Installing a New Sink
With your old sink removed, take this time to clean out old gunk or residue left about from the old sink. We will be focusing on installing a top-mount sink for this blog, but if you’ve gone with an under-mount, check out this awesome how-to from Appliance Educator.
First, take your new sink and dry install it to make sure that there are no problems with things like sizing. After you’ve confirmed no issues with the dry install, flip your sink upside down and add your silicone all around the outside lip. After you’ve applied the silicone, place the sink into the opening on your counter and clean up any excess silicone.
Next, you’ll want to install and tighten any mounting brackets that came along with the sink. After, you’ll want to install your sink strainers. Some manufacturers, like ZLINE, include their faucets, so there’s no need to use them, but other brands might require it; check your installation manual for more information.
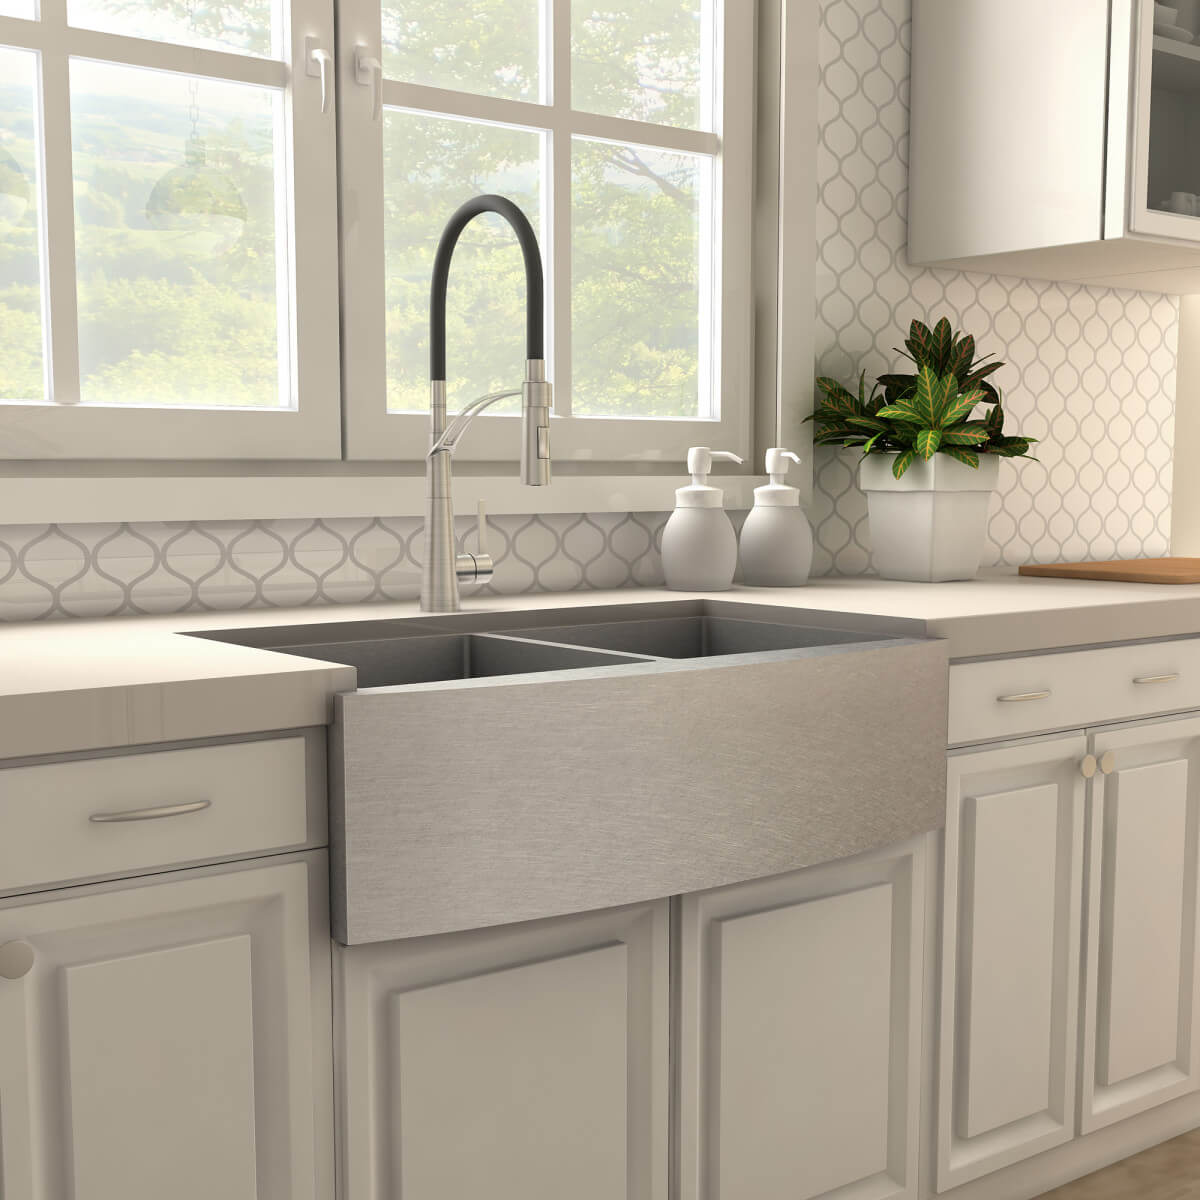
Now that the sink is properly installed, it’s time to reconnect all your lines and pipes. Start by reconnecting your faucet to the hot and cold water lines. Then fit your pipes from the sink to the drain. Depending on how different your new sink is, you might need to add more piping to make a proper connection.
Next, you’ll want to reinstall your garbage disposal and connect any lines from the disposal to your dishwasher. Now with everything reconnected, turn on your water lines and test out both the faucet and the sink to confirm there are no leaks. Lastly, plug in your garbage disposal.
If done correctly, your new sink should be installed properly. If you have any questions or need any assistance in purchasing a new sink for your home, The Range Hood Store is here to help. Reach out to us through our contact page below, or leave us a comment on our socials.
Contact us
FAQs
When should I replace my kitchen sink?
A kitchen sink should be replaced if it is cracked, leaking, stained beyond cleaning, or damaged in a way that affects performance. Many homeowners also replace sinks during kitchen remodels or when upgrading countertops, cabinetry, or fixtures for a cohesive new look.
Can I replace my kitchen sink myself, or should I hire a professional?
Replacing a kitchen sink can be a DIY-friendly project for homeowners with basic plumbing knowledge and tools. However, if you are changing the sink type, modifying plumbing, or working with delicate countertops such as stone or fireclay, hiring a professional can help prevent costly mistakes.
What should I do before removing my old kitchen sink?
Before removing your old sink, clear out the cabinet below, shut off the hot and cold water supply valves, and turn on the faucet to release any remaining water in the lines. If you have a garbage disposal or dishwasher connected to the sink, disconnect power and hoses before proceeding.
Is it easier to replace a sink with the same mounting type?
Yes. Replacing your sink with the same mounting type, such as top-mount replacing top-mount or under-mount replacing under-mount, typically requires less work and avoids additional countertop cutting or cabinet modifications.
What sink materials are most popular?
Stainless steel and fireclay are two of the most popular kitchen sink materials. Stainless steel is lightweight, easy to clean, and available in many styles, while fireclay is commonly chosen for farmhouse designs and offers a durable, sound-absorbing surface.
Do I need to remove my faucet when replacing the sink?
Yes. The faucet must be detached from the old sink before removal. If you plan to reuse it, this is a good opportunity to install the faucet onto the new sink before setting it in place. Many homeowners also choose to upgrade their faucet at the same time for a fresh, updated look.
Should I test-fit the new sink before installing it permanently?
Absolutely. A dry fit ensures the sink fits properly within the cabinet and countertop opening. This step helps identify clearance or sizing issues before applying silicone or tightening mounting hardware.
What sealant should I use when installing a new sink?
Most top-mount sinks require a bead of silicone sealant around the sink’s lip to create a watertight seal. Always follow the manufacturer’s installation instructions to ensure proper adhesion and long-term performance.
Will I need new plumbing parts when installing a new sink?
Possibly. If your new sink has a different depth or drain configuration, you may need additional piping or fittings to align properly with your existing drain. Always test connections for leaks before finalizing the installation.
How do I know if my sink installation was successful?
Once everything is reconnected, turn the water supply back on and run the faucet while checking all connections for leaks. Test the drain, garbage disposal, and dishwasher connection if applicable. If there are no leaks and water drains correctly, the installation is complete.
Can changing sinks damage my countertops?
Improper removal or installation can damage countertops, especially stone or composite materials. Taking your time, using proper tools, and avoiding excessive force reduces the risk. When in doubt, professional installation is recommended.
Is replacing a kitchen sink a good time to upgrade other fixtures?
Yes. Replacing a sink is an ideal time to upgrade faucets, strainers, and accessories. Doing everything at once ensures compatibility, improves functionality, and creates a more cohesive kitchen design.
Who should consider replacing their kitchen sink themselves?
Homeowners comfortable with basic plumbing, looking to save on installation costs, and replacing a sink with a similar size and mounting style are good candidates for a DIY replacement. Those planning major layout changes may benefit from professional help.


