Table of Contents
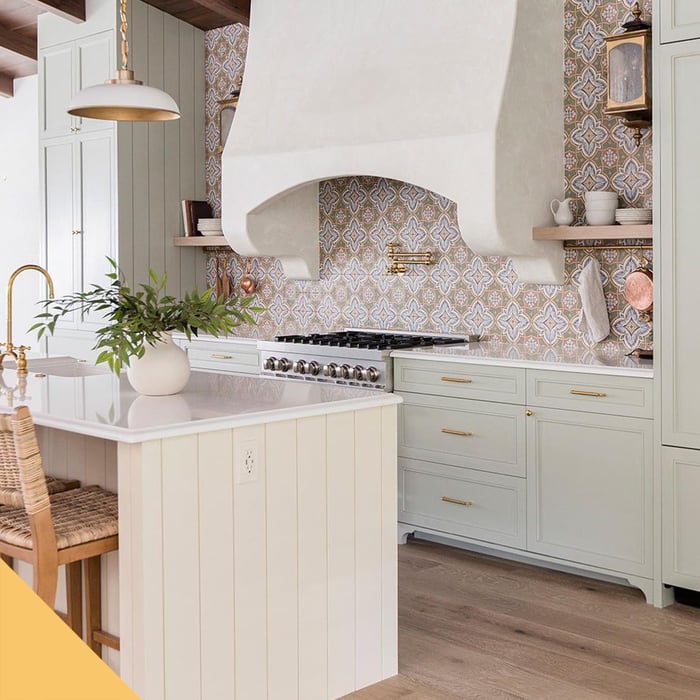
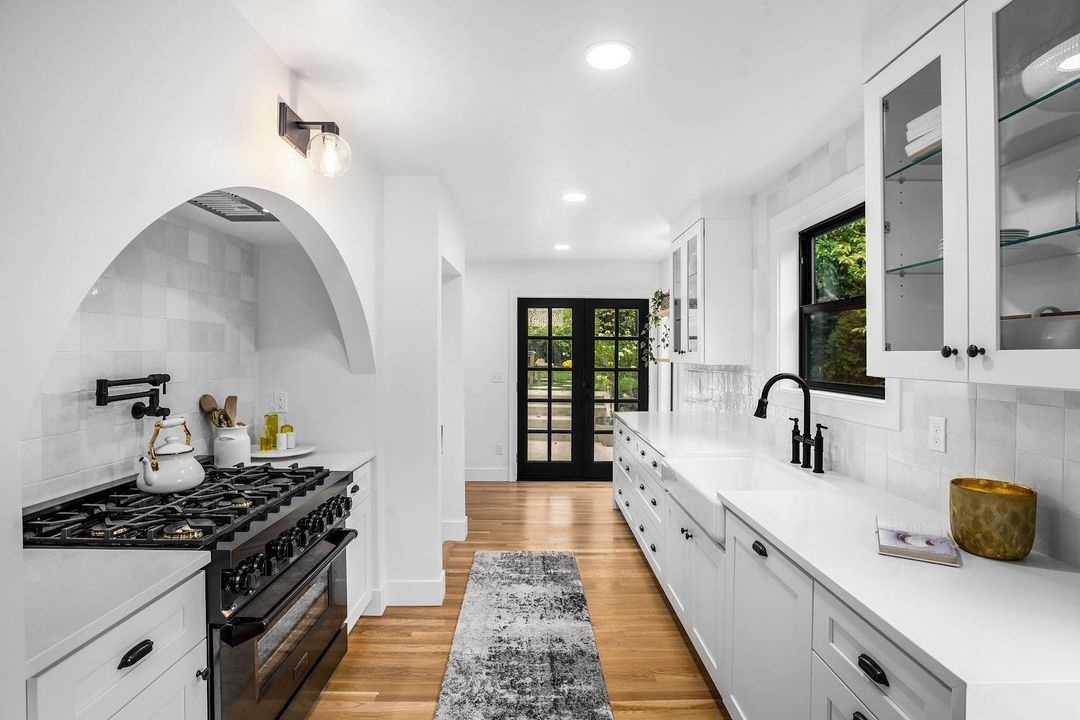
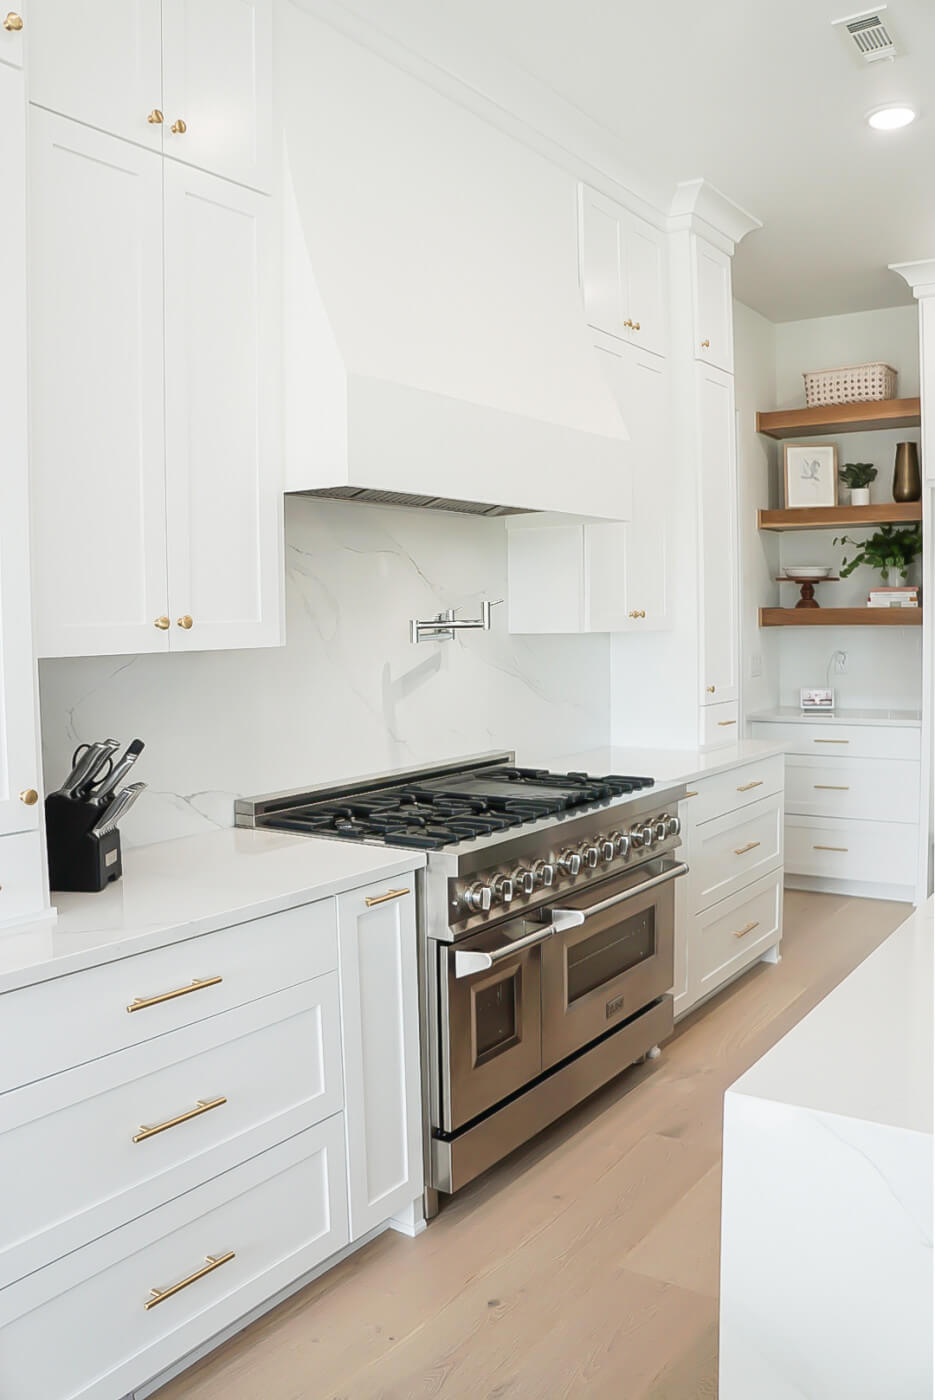
Custom range hoods and DIY Range Hood covers have become increasingly popular, particularly because they allow homeowners to achieve the exact look they are going for. Gone are the days of mounting an insert range hood into cabinets or leaving a wall-mounted range hood bare. The range hood and range combination is the focal point of a kitchen, and a custom range hood cover can turn these appliances into beautiful conversation starters. Afterall, the true language of luxury is owning timeless custom pieces.
How to Build a DIY Range Hood Cover?
The most convenient way to build a DIY range hood cover is to make a wooden frame and mount it on the wall. Consider the dimensions of the range hood insert and build around it. Add a build-out piece of wood inside the base of the wooden shell that will act as a lip where the insert will be screwed onto. You want the insert to be as snug as possible, for a nice and plush finish.
To get the step-by-step process, we asked our friends over at Appliance Educator.
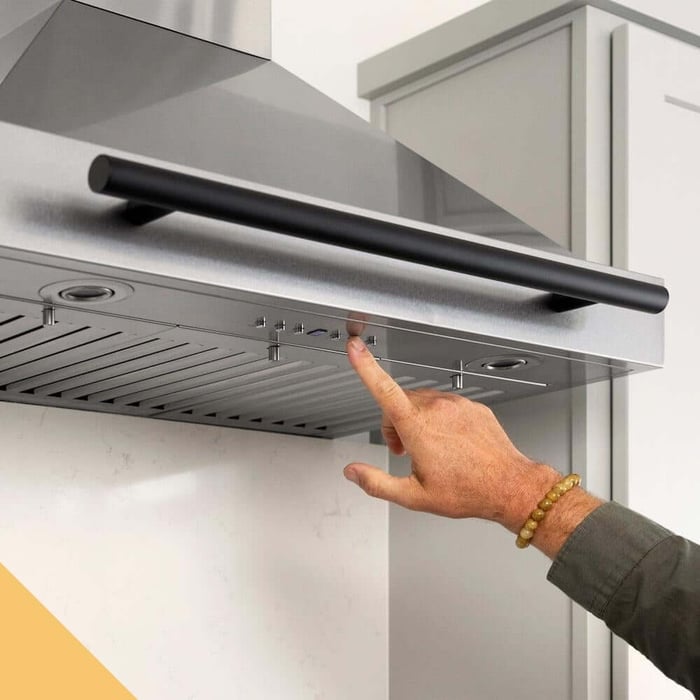
ZLINE 34 in. Ducted Wall Mount Range Hood Insert in Stainless Steel (695-34)

$586.49
$689.99
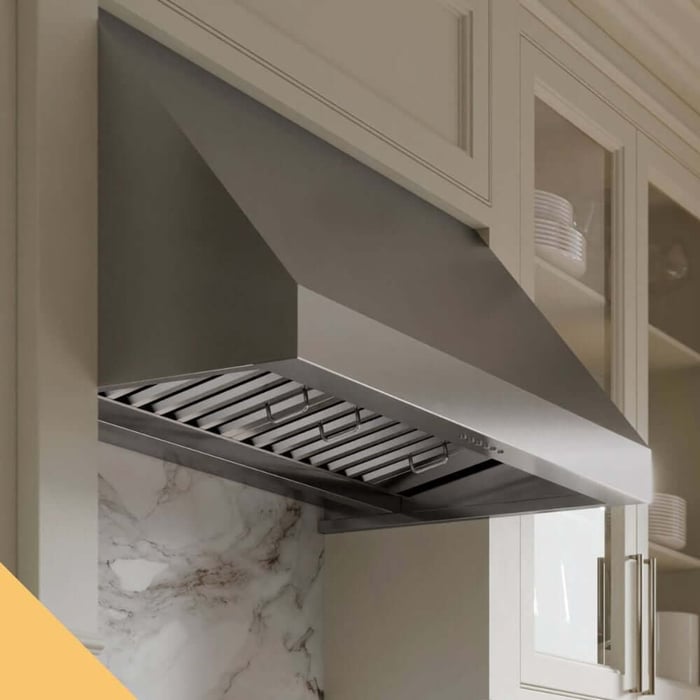
The ZLINE 34 in. Ducted Wall Mount Range Hood Insert in Stainless Steel (695-34) provides a professional culinary experience by pairing built-to-last quality with a timeless style. Achieve ZLINE Attainable Luxury® excellence with unrivaled performance designed to enhance your kitchen’s… Read More
Step-by-Step Process
- Available sizes for the ZLINE Range Hood Inserts:
Measure the dimensions of your kitchen
Measure the height of your kitchen (floor to ceiling). Subtract the height of your countertop, and subtract an extra 30-36 inches. The difference will be the height of your custom range hood cover. Refer to your range hood owner’s manual for recommendations.Measure the dimensions of the range hood insert
Consider the space between your hood and your cabinets and choose the panel sizes accordingly.Choose a hood shape
There are three basic hood styles: boxed, curved, and inclinedBuild out the range hood frame
Building out the frame first will allow you to minimize common measurement mistakes. Start from the base and move up. Make sure that the base is strong enough to support the weight of the range hoodBuild out the range hood cover
Use Grade A or B plywood - which is less likely to warp and splinter - to wrap around the frame. Secure each section with brad nails.
Optional: You can also use drywall and apply tape and joint compound for a smooth finish.Sand cover and fill in seams
Sand the wood lightly, and use caulk to fill in the seams, edges, and nail holes for a clean look.Paint and add your finishing touches
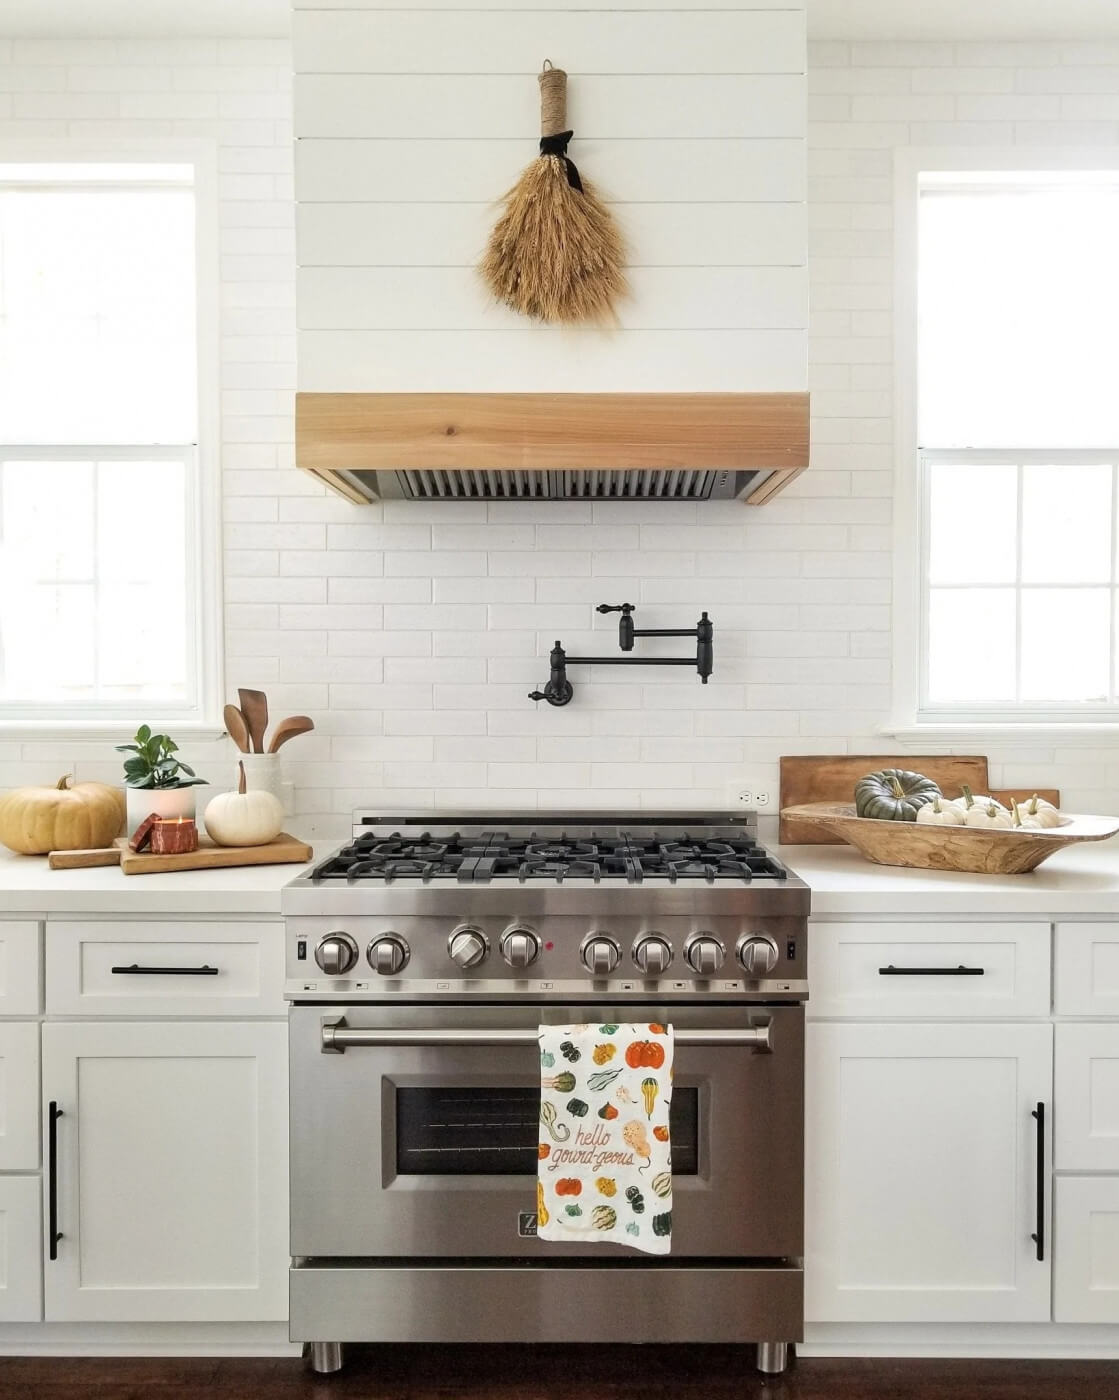
Since the range hood will become the focal point of your kitchen, choose a color or finish that complements or matches your kitchen’s theme.
What is the Best Type of Wood for a Custom Range Hood Cover?
When it comes to painting a wood range hood cover vs staining, the choice of wood can make a huge difference. Staining would allow the wood’s natural grain to show through and can reflect your kitchen’s style, whether you want it to have a contrast or match your cabinetry. For painting - where the wood grain isn’t critical to the overall appearance - Grade A or B Plywood would allow for more customization, while still providing strong support for your range hood insert.
 How to Install a Range Hood Insert?
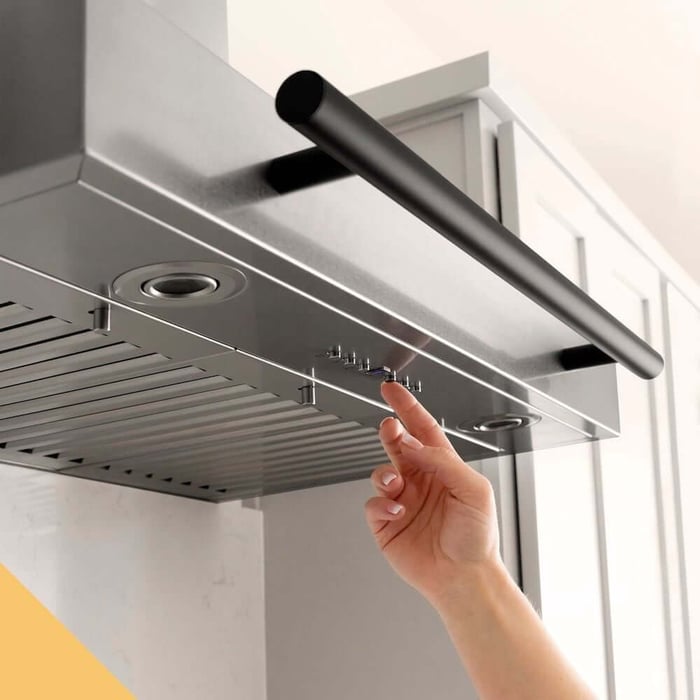
The ZLINE Ducted Wall Mount Range Hood Insert in Stainless Steel (695) comes with L-brackets and screws that you may use to install your insert into a hood cover. Screw in the L-bracket into the insert shell, and the bottom latch will be screwed into the bottom of the hood cover. Shop ZLINE Inserts
Available sizes for the ZLINE Range Hood Inserts:
- 20.5 Inch
28 Inch
34 Inch
40 Inch
- 46 Inch
52 Inch
- 58 Inch
However, the manual does state that you can screw straight through the vertical metal plates at the base of the insert shell into the hood cover. If you choose to screw straight through the insert shell, drill 3 pilot holes at the back of the shell (one in the center and one on both sides), and drill two holes on each side of the shell.
Note: This will vary, depending on the range hood insert. Be sure to check the manual of the insert hood you are using for more information on installing it into a custom range hood cover.
When installing range hoods, you want them to be centered with your range, and you will want the bottom of the range hood to be no more than 36” over the range and no less than 30” for proper ventilation.
A DIY Range Hood kitchen project is easier than you think! You simply build a frame, cover it, and install your range hood insert. You will surely love the results of your hard work and your new dream kitchen. Make sure to follow us on all of our socials for updates from The Range Hood Store!
Facebook: The Range Hood Store
Instagram: @therangehoodstore
Twitter: @therangehood
YouTube: The Range Hood Store
Pinterest: @TheRangeHoodStore
FAQs
What is a custom range hood cover?
A custom range hood cover is a decorative enclosure built around a range hood insert. It allows homeowners to fully customize the look, shape, and finish of their range hood, turning it into a focal point that complements the kitchen’s overall design.
What is the difference between a DIY range hood cover and a standard wall-mounted hood?
A standard wall-mounted hood is a finished appliance designed to be visible as-is. A DIY range hood cover, on the other hand, conceals a range hood insert inside a custom-built structure, offering complete control over materials, color, and style.
Is building a DIY range hood cover difficult?
No. A DIY range hood cover is more approachable than many homeowners expect. The process typically involves building a simple wooden frame, wrapping it with plywood or drywall, finishing the surface, and installing a range hood insert inside.
What tools and skills do I need to build a DIY range hood cover?
Basic woodworking tools such as a saw, drill, level, and nail gun are usually sufficient. Moderate DIY skills, accurate measuring, and patience are more important than advanced carpentry experience.
How do I determine the correct height for a custom range hood cover?
Measure your floor-to-ceiling height, subtract the countertop height, then subtract the recommended clearance between the cooktop and hood, typically 30 to 36 inches. The remaining measurement determines the height of your hood cover.
What are the most common custom range hood shapes?
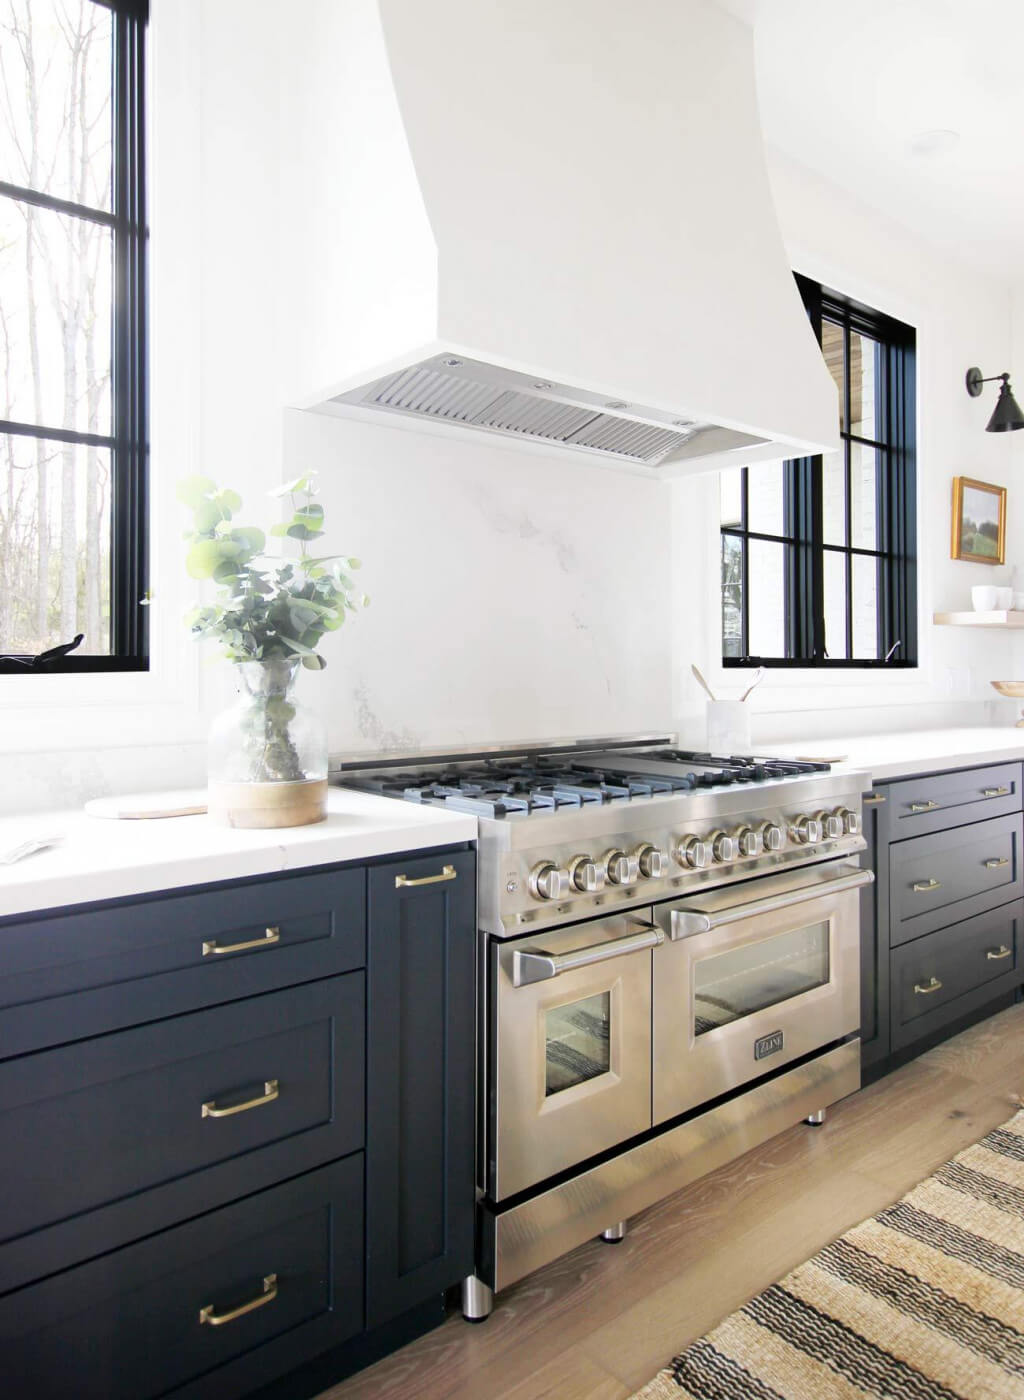
The three most common styles are boxed, curved, and inclined. Boxed designs offer a clean, modern look, curved hoods add softness and traditional appeal, and inclined designs create a sleek, contemporary profile.
What is the best wood to use for a DIY range hood cover?
For painted finishes, Grade A or B plywood is ideal due to its stability and smooth surface. For stained finishes where wood grain matters, higher-quality hardwoods allow the natural grain to show and enhance the kitchen’s character.
Can I use drywall instead of plywood for a hood cover?
Yes. Drywall can be used over a wooden frame for a smooth, seamless look. It is often finished with joint compound and paint to blend perfectly with surrounding walls or cabinetry.
What is a range hood insert and why is it necessary?
A range hood insert contains the functional components of ventilation, including the motor, filters, and controls. The custom hood cover is purely decorative, while the insert provides the actual airflow and grease capture.
Are ZLINE range hood inserts good for custom projects?
Yes. ZLINE range hood inserts are specifically designed for custom installations. They offer reliable performance, multiple size options, and straightforward mounting, making them a popular choice for DIY and designer kitchens.
How are range hood inserts installed inside a custom cover?
Most inserts mount using L-brackets or by securing directly through the insert shell into the wooden frame. Installation methods vary by model, so always follow the manufacturer’s installation manual for proper support and safety.
How high should the range hood insert be installed above the cooktop?
For proper ventilation, the bottom of the range hood should be installed no lower than 30 inches and no higher than 36 inches above the cooking surface, depending on the cooktop type and manufacturer guidelines.
Can I build a DIY range hood cover for any kitchen style?
Yes. DIY range hood covers work well in modern, farmhouse, rustic, transitional, and luxury kitchens. The ability to choose materials, finishes, and shapes makes them one of the most versatile design elements in a kitchen.
What is the biggest mistake to avoid when building a custom range hood cover?
The most common mistake is inaccurate measuring. Building the frame before finalizing dimensions or ignoring insert clearance requirements can lead to poor fit or ventilation issues.
Is a DIY range hood cover worth it?
Absolutely. A DIY range hood cover allows you to achieve a custom, high-end look at a fraction of the cost of fully custom fabrication. With the right insert and careful planning, it can become the centerpiece of a truly timeless kitchen.
Why is a ZLINE range hood insert the best for a DIY range hood?
ZLINE range hood inserts are considered one of the best options for a DIY range hood because they balance strong ventilation performance, straightforward installation, durable materials, and accessible pricing. These characteristics make them particularly well-suited for custom wood, plaster, or cabinet hood enclosures.